Showing posts with label Half Square Triangles. Show all posts

Wednesday, February 15, 2012

QST & HST = Flying Geese

How do you make flying geese blocks? I know there are several different techniques out there from drawing on the back of a square to make the wings to having to square up your flying geese blocks after sewing them. But the technique I use is so much easier...no drawing on the back of blocks, no squaring up and virtually no wasted fabric.


Here's how:
1. Figure out what height size finished flying geese blocks you want to make. I wanted my blocks to be 4" high. Add a half inch and that is the size strips you will be working from. In my case the strips needed to be 4.5".
2. Cut a 4.5" strip of the geese fabric and of the sky fabric.
3. With the geese fabric, use the Nifty Notions Quarter Square Triangle (QST) ruler to cut your pieces. Cut 1 per flying geese block you want to make. Here's a tutorial on how to cut the QSTs.
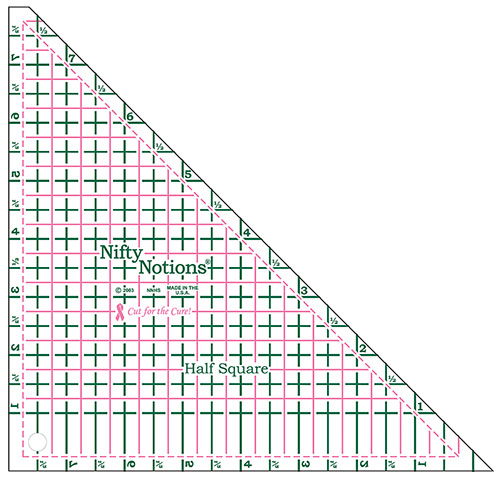
4. With the sky fabric, use the Nifty Notions Half Square Triangle Ruler *HST) to cut the sky pieces. Cut 2 per flying geese block you want to make. Here's a tutorial on how to cut the HSTs.
This is what the pieces will look like.


5. Flip the right side sky piece (orange) over so the diagonals are aligned. This is your sewing line. Sew along the line and press towards the sky.


6. Repeat with the other piece of sky fabric. Press towards the sky.


There you go, a flying geese block that you don't have to draw any lines for or square up and has virtually no waste.


So what do you think? Are you ready to try this technique?


Don't forget to enter the giveaway to win a set of 2 rulers from Brewer Sewing. Just link up anything you have made with fabric. It doesn't have to have triangles in it but if you had a project with triangles I'd love to see it. You can find the link here.


Until next time


Friday, January 20, 2012

Terrain Stepping Stones Quilt, My First Finish Of The Year!

If you are looking for the Nifty Notions Ruler giveaway click here. Hurry the giveaway ends today!

This week was very exciting for me, not only did I work on 4 Valentines Day projects but I finished my first quilt on my 2012 Finish-A-Long list! It's my Terrain Stepping stones Quilt.


I finished the quilt top in November before Thanksgiving, so I guess technically it didn't take that long to make since I don't stop piecing until the quilt top is done. That keeps me from being confused. Besides it was a fairly easy pattern. If you want the pattern its available here for FREE!

I knew that I wanted to make a small lap size quilt to put over my legs when I am using the computer. We have hard wood floors and my feet get cold. I also knew I didn't want it to be too heavy and bulky so I decided to just back it in flannel with no batting. And its the perfect weight, its over my lap right now keeping me cozy :)


Like many of my projects this one had lots of HSTs, which you know I am craizee about! I know I am weird, but I like the challenge of matching them all up.

I decided to just quilt in the ditch around the different shapes, big squares, little squares, diagonals and diamonds.


The hardest part for some reason was hand sewing the back of the binding on. It was only 2 thin layers and my needle kept going thru the front so it took forever to hand sew. I think I need to learn to machine sew binding on.

Today is another big quilting day. I need to put the borders on Tyler's quilt and quilt and bind my Valentines quilt.

Speaking of Valentines Day, next week I have decided is V week here at Craizee Corners. I have a bunch of V-day projects to show you and maybe a great giveaway too! If you have a V-day project you would like to share let me know and I would be happy to show it here.

Come back tomorrow to see who the 2 winners of the Nifty Notions rulers are!  


Sunday, November 20, 2011

Nifty Notions Cut For The Cure Winners!!!

I know I was suppose to post this yesterday but life got in the way. So the 2 winners of the HST and QST rulers that my Mr Random picked are:

Amy and Marcia W!

I have email both of you!


I hope you enjoyed this series. If you didn't win you can still get one of these great rulers from The Berry Patch (tell them Sharon sent you) or from Kaye Englands site. I'd love to hear how you like these rulers, I promise they will change your quilting life forever!

Thanks to Brewer for their sponsor love and for helping me share my love of these rulers.


Next month I will show you how to use the Quarter Square triangle ruler and how these 2 rulers work together.

If you missed the HST tutorial you can find it here for the post or can get a PDF version here.

Wednesday, November 16, 2011

Stepping Stones over the Terrain

If you are looking for the Nifty Notions Ruler giveaway click here.

Today I have another quilt top to show you that used half square triangles (HSTs). I started this quilt in October during the Kate Spain Designer Select Month. I just finished it this past Saturday night at Sit and Sew at The Berry Patch. It was fun letting the gals there help me get the layout just right. Then I took the top 2 rows off the design wall to sew together and made a big mistake. I sewed the top row under the bottom row (no turning it over didn't help) so we had even more fun figuring out how to fix it.

Even though I used a different technique to make the HSTs it still worked with the layer cake pieces. Instead of a 4 7/8" strip I used a 4 1/2" strip. This quilt was just scrappy enough for me to feel comfortable and still experiment with different fabrics. This quilt only had 64 HST, 4 for each block, so it went pretty fast. I found that making 1 or 2 blocks at a time was the best way to approach this pattern.


What I love about this pattern is that the white squares are the pronounced part so the HSTs are kinda in the background, even though they are there...does that make sense? Sometimes I think my brain is scary.

I have seen the project sheet for Good Fortune and the quilt has a similar play on squares so I will be making a sister to this one eventually.

Tomorrow I am guest blogging at QuiltJane...Want It, Need It Quilt! Be sure to check that out! I need help naming the block I posted about so please help me.

Have you tried using a HST ruler yet or are you waiting to see who the winners are of the ruler sets before you get one? You have till Saturday, November 19th to enter. (Click here).

Monday, November 14, 2011

Call me The Craizee Ruler Lady!


Welcome to the first installment of the Craizee Corners Specialty Ruler Series! This monthly series will feature a new Nifty Notions Cut For The Cure Ruler and will have a tutorial on how to use the ruler, patterns, projects and other info about the ruler. Plus Brewer Sewing will be sponsoring this series and will be giving away 2 sets of rulers a month!

How this came about...
Anyone who tweets with me knows that I love love love half square triangles (HSTs). I think one of the reasons I love them so much is that I have a fool proof way to make them very easily, in any size and without having to trim. After all who wants to add another step to quilt making. After I started using the HST I moved onto other Nifty Notion Rulers. I was amazed at how easy all of these rulers were and how the worked perfectly together.

While at Fall Market last month I met Kaye England who is the designer of the Nifty Notion Cut For The Cure Rulers. The next day I had a meeting with Brewer Sewing and pitched this series. They were very quick to jump on board and a new friendship was formed. So now I get to share my love of these rulers with you! Plus I love the added bonus of a donation made to the Susan G Komen For The Cure Foundation for every ruler sold.

Caveat...as always I will be very honest in my review of the monthly ruler. I would not have started this series if I was not head over heals Craizee about these rulers. I have tried many other ways to make these triangles and this is by far the easiest and most accurate I have found. Plus since there is no need to trim it saves you lots of time! Who doesn't want that when piecing?

This month we will start with HSTs. They are the most basic and most widely used triangle in quilting. For those of you that don't know what a HST is here's a pic. These were made using a HST ruler with no trimming at all. One of the great things about this technique is that where the dog ears are shows you there the ¼” seam allowance is.


Here's how to use the HST Ruler. PDF file available here)

Step 1: Look at your pattern and see what the finished square will be. If the block is 12” finished that means the unfinished block will be 12½” It’s the same for these squares. If the finished square will be 3”, simply add ½” to the finished size to get your strip size. In other words, the square will be 3½” which will finish to 3” once sewn into the block.

Step 2: Cut 2 strips of fabric, right sides together, the size of the strips needed.

Step 3: Cut the selvage off of the 2 strips or even them up if the selvage is already cut off.

Step 4: Place the Nifty Notions HST ruler on the fabric so that you can read the logo. Line up the left straight edge with the size of the strip. Notice the flat notch at the top. Cut along the right diagonal of the ruler.


Step 5: Flip the ruler over so that the diagonal line of the ruler is aligned with the diagonal line you just cut. Cut along the straight side of the ruler.


Step 6: Continue until you have the correct number of HSTs cut.

Step 7: Start sewing at the flat tab of the HST. This is your ¼” seam line. Put the needle in right at the top left corner and sew down the diagonal using a ¼” seam allowance. Repeat for all HSTs. Do not pull the fabric, just let your machine feed it thru.


Step 8: Press in the direction needed. I find it best to set the seam by pressing the seam with the right sides together with the top part being the direction you want the seam pressed. Then flip the top half open and press the seam open. The square should measure the same size as the strips, in this case 3 ½”, which is 3” finished. There is no need to trim these at all and there will only be 1 set of dog ears to trim if you want to.

What do you think about this technique? This meets 2 of my 'rules'...1. I will do anything to not have to draw on a piece of fabric without compromising quality. 2. I don't believe in trimming, if it's done correctly there's no reason to have to trim. 
If you are wondering where you can buy a Nifty Notions Cut For The Cure Ruler check with your Local Quilting Store (these are exclusive and not found in the bog box stores), Kaye Englands store or The Berry Patch. We will have a comprehensive list soon.
Now for the FUN part! Brewer Quilting and Sewing Supplies is giving away 2 sets of rulers. The rulers in the set are the Half Square Triangle and the Quarter Square Triangle (QST). With these 2 rulers you can make flying geese and many other things. The QST series will be next month so you will be all set to try that one too.

To enter Novembers Nifty Notions giveaway you do not have to be a follower, but it would be great if you did.

For entry #1 go to the Brewer Nifty Notions page and tell me which ruler you would like to learn about.

For entry #2 go to Brewer's Facebook page and Like them.

There you go, as usual not more than 2 ways to enter!

Mr. Random will draw a winner on Saturday, Nov 19, 2011! 

Sunday, November 13, 2011

Winner Alert!

Thanks to everyone who entered to win the Ruby Designer Select FQ kit. As you know these specific kits are only available at The Fat Quarter Shop. These kits can be purchased individually or thru the Designer Select FQ Club. I highly recommend the club since you get a discount, but the best part is having a package show up without ordering it. Its always brightens my day! As always a big thanks to The Fat Quarter Shop for sponsoring this series.


The number My Mr. Random picked is #14!

Mom2RyanandSis said

Lots to choose from in the coming soon, but I think today I am most looking forward to Apple of my eye!!

Congrats! I have emailed you!

Starting tomorrow I will be doing a new series on speciality rulers. To get ready for it I'd love to know the following things...
1. Do you like making Half Square triangles (HST)? If not why
2. Do you trim your HSTs?
3. What method are you using right now?

Please come back tomorrow, this week promised to be both informative and fun!

Monday, November 7, 2011

A Stunning Ruby Quilt

If you are looking for the Ruby giveaway click here.

Welcome the first Ruby guest blogger! Melissa has a stunning quilt to share and a tutorial on how to make this quilt. What I like about Melissa is that she seems to like half square and quarter square triangles as much as I do.

Hi, I'm Melissa from Sew BitterSweet Designs. When Chef Sharon asked for guest bloggers to blog about Ruby by Bonnie & Camille I stood up and waved my arms! This line is gorgeous and so versatile! Just look at all those fabulous colors!


As soon as I saw Ruby I knew it would make some absolutely stunning flying geese (this line actually launched my secret romance with flying geese....shhhhh don't tell my husband - he wouldn't understand!). I used an entire jelly roll of Ruby and created this quilt:


I named this quilt Flying Flocks and I am giving it to a friend's daughter for her first birthday! It is bright and cheerful. The geese make a fabulous faux chevron pattern. Ruby is perfect for any little girl - with it's fun funky flowers and youthful color palette.

As I said, Ruby kicked off my romance with geese, here is another block I designed for a swap I participate in. My partner requested reds and aquas, Ruby was the perfect fit!

Doesn't Ruby look AMAZING when paired with a simple white?!?
I was also able to use more Ruby in my Bottled Rainbows Quilt that I have been working on this past month - It is featured 5 times alone in my red block!

Needless to say, I have worked Ruby into as many projects as possible since I got my hot little hands on my first jelly roll in September. It is such a fun line and I am certain at least one more project will come out of it for my own daughter. She has already tried to claim Flying Flocks as her own!

If you would like to learn more about me, my quilts or see my tutorial for how I created 240 flying geese from one tutorial please check out my blog!

I am also on Twitter!

And I live on Pinterest too!

Thank you so much for having me here today Sharon, I had a blast sharing my love of Ruby!

So are you ready to make one of these quilts? I think it so stunning that I just might have to make one soon. Thanks for visiting Craizee Corners today Melissa. Make sure you check out her blog, Sew Bitter Sweet Designs.


Sunday, November 6, 2011

My first pattern...AKA Countdown to Christmas Tablerunner

Here's my very first pattern. I love all things Sweetwater including Countdown to Christmas. You can get some Countdown to Christmas at The Fat Quarter Shop.

Here's the PDF version.

Countdown to Christmas Table Runner


Fabric:
¼ yard Green                                                  16”x40” piece of batting
¼ yard Black                                                    16”x40” piece for backing     
½ yard Red
½ yard White

Note - this can also be made scrappy as long as you get the same number of squares cut.

Strips are always cut width of fabric (WOF)

HST = Half Square Triangle

Cut (the other pieces will be cut according to the technique you use for your HSTs)
12 green 3 ½” squares
24 green 2” squares

You will need to make 8 black/white HSTs
You will need to make 28 red/white HSTs

Note – If you are using a HST ruler make sure you read the how to directions first.

Here’s 2 different ways to make the HST’s.
Using a HST ruler:


Cut
2 - 3 ½” strips of red
3 - 3½” strips of white
1 - 3½” strips of black.

Place a white and a black strip right sides together. Starting with the ruler facing
this direction (like a right triangle) cut your first set of triangles. Usually it’s the direction that has the writing right side up so you can read it.


Flip the ruler and cut the second set of triangles. Continue until you have 8 black/white triangle sets and 28 red/white triangle sets cut.


Starting with the part of the triangle set with the flat tab, line your needle up with the left corner of the tab and sew using a ¼” seam allowance to the bottom of the triangle.


Make 8 black/white and 28 red/white HSTs

** See the pressing directions before pressing.

Traditional HSTs:

Cut
2 - 3 7/8” white strips, sub cut into 14 - 3 7/8” squares
2 - 3 7/8” red strips, sub cut into 18 - 3 7/8” squares
1 - 3 7/8” black strip sub cut into 4 - 3 7/8” squares

Put a black and a white square, right sides together.
Draw a diagonal line on the white square from point to point.
Sew using a ¼” seam on both sides of the drawn line.
Using a rotary cutter, cut along the diagonal line to make 2 HSTs. Trim to 3 ½”.

Make 8 black/white HSTs and 28 red/white HSTs.

Pressing: Very important

Press half the black/white HSTs towards the white and half towards the black.
Press half the red/white HSTs towards the red and half towards the white.


Adding the Connectors:

On all 8 black/white blocks and 16 red/white blocks (8 pressed towards the red and 8 pressed to the white)  you will be adding a 2” green connector to the white half of the HST block.

See this tutorial http://craizeecorner.blogspot.com/2011/10/corner-triangles-aka-connectorsa.html for an easy no-draw way to attach connector squares

OR you can do it the traditional way of drawing a diagonal line on the 2” squares and sew along that line.

I suggest only cutting the middle piece (the unused part of the connector) and not the bottom 2 layers, that will keep the integrity of the square and make piecing easier.


Putting the table runner together:

You will have 4 different squares at this point.
A – 12 - 3 ½” green squares
B – 12 - 3 ½” red/white HSTs with no connectors
C – 8 - 3 ½” black/white HSTs with green connectors
D – 16 - 3 ½” red/white HSTs with green connectors

Layout the blocks following the diagram below. Starting with the top left Block B alternate the direction the blocks were pressed. This will make matching the points easier. Make each star block and put them together.  To make sure the points match nestle the seams together on the diagonal when you are sewing the blocks together. The points will meet at one point.


Baste, Quilt and Bind as you normally would.

There you have it...a table runner that can be made for any season. Instead of the 4 A blocks put together you can fussy cut a 6 ½" square to go there.

Saturday, October 8, 2011

Corner Triangles aka Connectors....A Tutorial

A while back on twitter I asked what a square with a small half square triangle (HST) on one of the corners is called. We decided it was called 'corner triangles'. Then I went to my quilting class that week and found out that the term is called connectors, although I like corner triangles better.

On Wednesdays post about the Friendly Quilt Along I promised to show you a way to sew the connectors on...
"On Saturday, October 8th I will be showing you a very easy way to sew the connector squares on with out pinning or drawing on the back of the small square or even just guessing where the diagonal really is. It's a fool proof way that will make this quilt go fast."

Like so many other things I learned this technique from Gail at The Berry Patch. She is probably the most knowledgeable quilter I know, I always learn something new and wonderful at her classes.

For each square you will need a larger square (mine is 5") and a smaller square (mine is 2.5"). These sizes are not set in stone, your pattern might be different.

1. First you need to get your machine ready. Do you have a marked line (like with a sharpie) or a piece of take along your 1/4" line? Just about everyone I know around here does. What you do is put your needle in the down position and raise your presser foot. Insert a ruler against the needle and lower your presser foot. Line up a line on your ruler perpendicular to a line on your machine table so you know your ruler is straight, ie. the 4" line on the ruler. Then with a fine point sharpie draw a line against the ruler or place a 1/4" piece of tape in the same spot. I didn't have any 1/4" tape when I did this so I used a piece of painters tape that I cut with my rotary cutter to 1/4". And don't worry about the sharpie, you can always remove it with denatured alcohol.  


Now you are ready to start piecing.

2. Take your 5" square and place the 2.5" square on one corner, right sides together. Make sure the corner and edges line up. When I talk about the top left and bottom right part of the small square it is from this position I am referring to.


3. Take the squares to your machine. You will start sewing from the top left corner of the small square and sew down to the bottom right corner. Line your top left point up with your needle and the bottom right corner with the left side of the tape. Stitch down the center of the triangle, watching the tape line (your machine will keep sewing if you look away from the presser foot and needle for this, I promise).


If your bottom right corner of the small square follows the line the needle will end up right at the bottom right corner. There you have a perfect diagonal line. 


4. Press the square over to make a triangle.

5. Normally you would be told to trim the bottom 2 pieces under the triangle, but I think it's best to only trim the center. If you are off by any amount (and lets face who isn't at times) keeping the bottom part (in other words the part of the big square) will keep your square integrity and give you the correct line to sew on.


There you have it...an easy way to sew on the diagonal...no pins, no pencils and no guessing.

There's so many applications this can be used for, not just connector squares. Can you think of any others?

I am off to Quilt Sitters and Sit and Sew at The Berry Patch today and will pick a winner of the Quilting Design Wizard later. If you haven't entered I am giving you a few more hours :)

Are you planning on joining the Friendly Quilt Along? I hope so, this is a great quilt and is so easy now that you know how to make these pieces.

Sha :)

Friday, September 16, 2011

Home Sweet(water) Home Quilt

A few days ago I got a surprise from Kimberly at the Fat Quarter Shop. She sent this to me to help celebrate Sweetwater month. Does it look familiar? Is should because its the same things she's letting me give away to one of my lucky readers. The link to the giveaway post is here.


So after a few hours hugging it in the package and studying the pattern I opened it up. This was the most excited I have been about a quilt in a while. I thought the blocks would be kinda difficult because of the cutting, but it was soooooo simple! Who knew that cutting 1 5/8" off of the point of a triangle would be so easy. I learned my lesson...I will no longer be afraid of the rotary cutter :)

It didn't take too long to iron the fabric and cut all the pieces, except for the sashing, I always so that when it's time to use it. I learned a great way to measure the rows to make sure they are all the same size (more on that system later in the week). Once I got it all cut it was time to start sewing. Like always I made 1 block to see how it comes out. Plus it helps me gauge how long it will take me to sew them all together. I have to say that it went so fast. I will definitely be able to chain piece them which will make it go even faster. I figure 2 hours tops for the squares to be made, that's with the pressing.

Here's my first finished block. I almost used the Half Square triangle ruler to cut the print arrow points, but wasn't sure about it. Now I wish I did because of the flat notch there would be no guessing and the side would have come out even every time. But live and learn I guess. Cutting the arrow points was still very easy.


I am done sewing for today (I think) and am looking forward to working on this again tomorrow. My plan is to have the quilt top done by Monday or Tuesday and have it quilted by the end of Sweetwater Month.

Remember if you want to win one of these wonderful quilt kits and backing you have till Monday morning to enter.

If you like this quilt hurry and get your kit today. Here's the link straight to the kit.

See ya tomorrow!
Sha :)


Monday, August 22, 2011

Corner Triangle Tutorial

If you are looking for the giveaway you can find it here.

You know those little triangles that you put on the corner of a square? Well I have no idea what they are called, but they are used to make a snowball block, among others. If you know what the real name for them is please let me know, but I am calling them corner triangles.

Here's how I learned to do them from Gail at The Berry Patch in Fort Worth. We used this technique to make the star points at the quilt in a day class. Here's a pic of my finished quilt top from that class.


As you know I will do anything to not have to draw a line on a piece of fabric or to cut on the bias before sewing. So this technique was right up my alley.

1.   You will need a straight line on your sewing machine table. To do this lower your needle and raise your presser foot. Place a ruler under the presser foot against the needle and lower the presser foot. Align the ruler up with a line on your machine that is perpendicular to the ruler to make sure the line is straight.  Then put a ¼” piece of tape right up against the ruler. You will use this line as a guide to make the corner triangles.


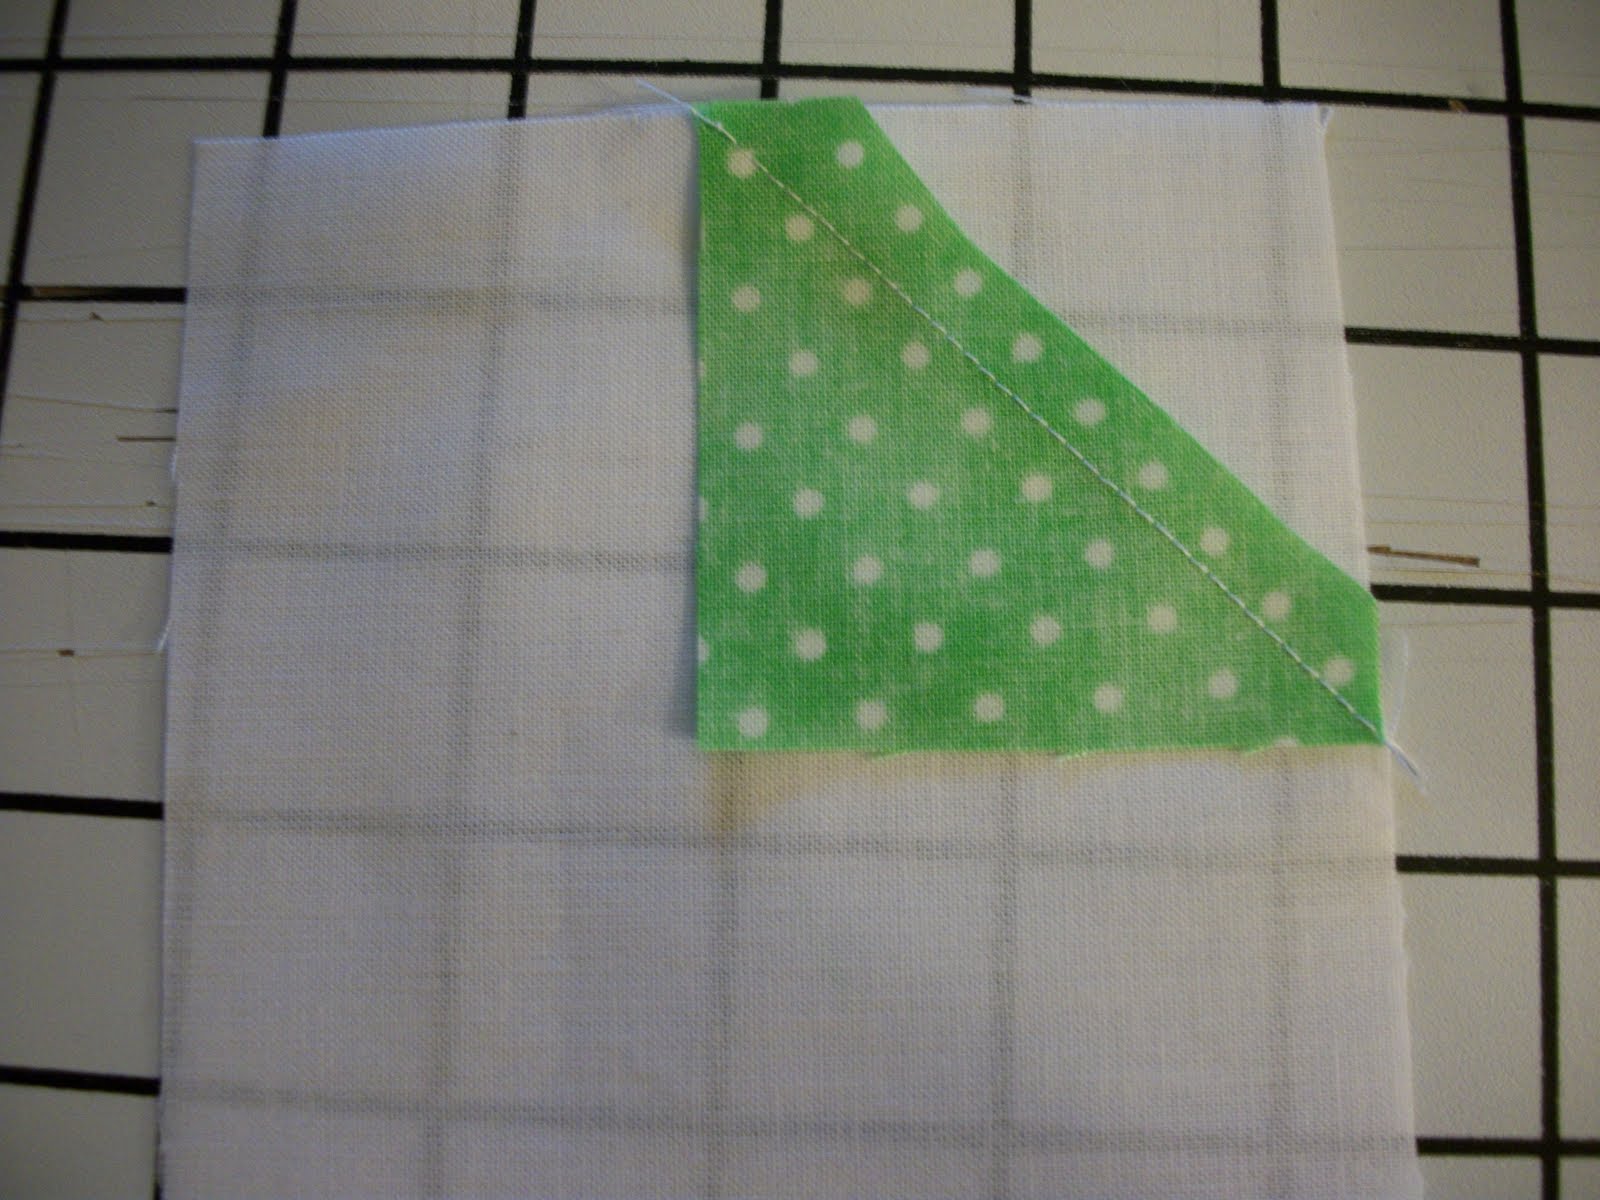
2.  To make the corner triangles place a 2 ½” print square on the top right corner of a white 4½” square, right sides together. Note - the larger square can be just about any size you want.


3. Line up the point where the top left part of the print square meets the white and start sewing there. You will use the tape as a guide for the bottom right corner of the print square. Sew with the bottom right corner of the print square following the tape.


4. Doing this will give you a perfect diagonal everytime without having to draw a line on the back of the print square or guessing where the diagonal meets.
 
5. Trim the print square above the white point only. This keeps your square straight if the triangle gets wonky when you press it. This is the most important step in my opinion, theres no guessing where the real sewing line is if you still have the whole white square.

6.    Press all triangles to the white point, your square should look like this now.


If you know of another way to make these corner triangles I'd love to know.

Sha :)