Welcome Heather from Fiberosity to Craizee Corners today! Heather is a 'Jack of All Trades' when it comes to the fabric arts. Heather is also a twitter friend of mine, and is a wealth of knowledge. Every time I ask a dumb question on twitter she seems to know the answer right away and points me in the right direction.
Hi, I'm Heather and I blog at Fiberosity.com. I'm a Kate Spain groupie. Seriously. I think I'm beyond the 12 step cure. I see bolts of Central Park at a quilt store and feel sorry for that lonely, unloved fabric. I want to adopt it. To show it how lovely it could be living in my stash.
Once upon a time I found a lovely fabric at a booth at a quilt show. It caught my eye through the herd of people. Little people ice skating. Lovely colors. Stunning graphics. So perfectly holiday I wanted to start singing "Jingle Bells". I hadn't heard of the line (I know, I know, where *had* I been?). I bought enough to satisfy my immediate needs. And then I found it online. And then....and then....
The line was 12 days of Christmas by Kate Spain. Loved it. Gushed over it. Couldn't cut into it. Until I saw Central Park. I almost fell out of my chair, I couldn't order fast enough. I treated myself to a fat quarter bundle to pet for my birthday. I won't even start on Terrain. I really admire Kate Spain as a designer and although I might seem a bit unhinged sometimes, I'm not a dangerous stalker, I promise. There are several reasons that I drool over her fabric. To start with, her color palettes are wonderful. They appeal to me. I often can't chose a favorite. The color ways of her fabrics cross over the whole palette through the fabric line. Her supplemental designs that compliment the main prints are whimsical, but yet appeared structured and precise. And she doesn't do plain stripes which irritate me. I can never cut them precisely and well, I avoid them.

Today I'm finally going to cut into my scraps of 12 Days of Christmas. I love high heeled boots and have created them in several different sizes and shapes for the holidays. I have a size that fits a bottle of wine, a size that just looks lovely hanging on my coat rack and last year I created a mini size to put on presents or just have fun with! And its a perfect size for scraps (which is all that is left of my beloved 12 days of Christmas, luckily I have a full set of fat quarters of Flurry!) Notice that I didn't cut into Flurry yet, I couldn't bring myself to sacrifice any of my fat quarters.
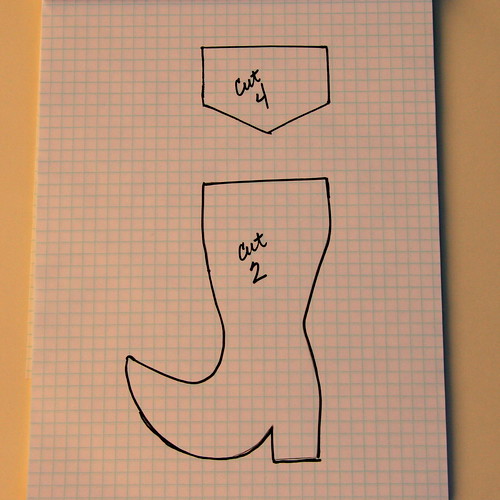
Here is the basic pattern. This is drawn on 1/4" graph paper, the kind that most office supply stores sell. Feel free to improvise your shape a little bit. You will need 2 of the body, and 4 of the cuff and also a little 1"x4" scrap for the hanger loop.
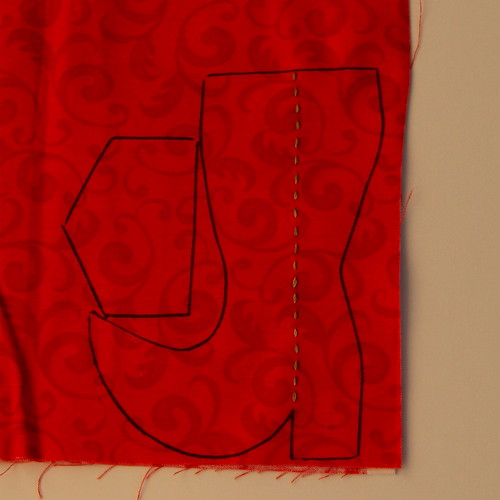
First, trace your pattern. If you want to do a bit of embellishment, like some hand embroidery, I highly suggest you do it before you cut out the pattern. Yes, I do trace my patterns in sharpie. Yes, I have sharpies in my sewing studio, don't you?
If you want some great tutorials on embroidery, I learned everything I know from Bari J at We Love French Knots. She is super nice and answers all kinds of idiot/beginner level questions. Trust me, I've tried to annoy her and haven't yet.
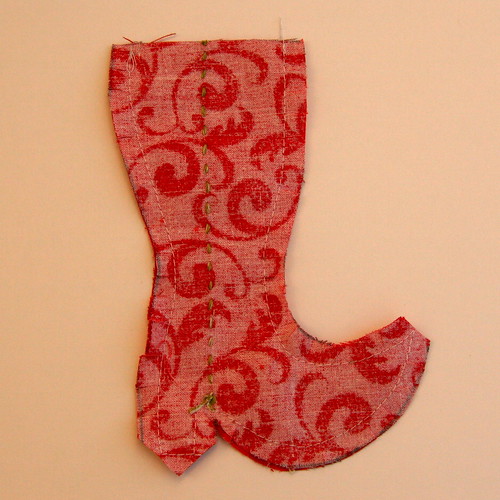
Cut out your pieces and sew the stocking bodies together, using 1/4" seam allowance, leaving the top open. Clip curves really well! Then turn right side out, gently using a chop stick or other pointy object to push out the heel and the toe. Gently. Not that I have ever stuck the end of my pointy object through the tip of the heel or anything. Nope, never happened.
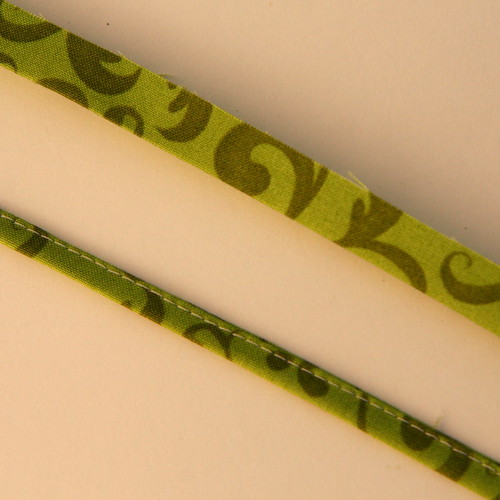
Grab the 1"x4" strip of fabric. Fold it lengthwise and press. Then fold in the long edges to the center and press again. Then stitch along the edge to finish. Or, you could omit this whole singe the finger situation and grab a nice little length of ribbon. It's your choice. I always think the fabric will look cute until I am blowing on my fingertips as they get close to the iron. Suddenly, ribbon seems just fine.
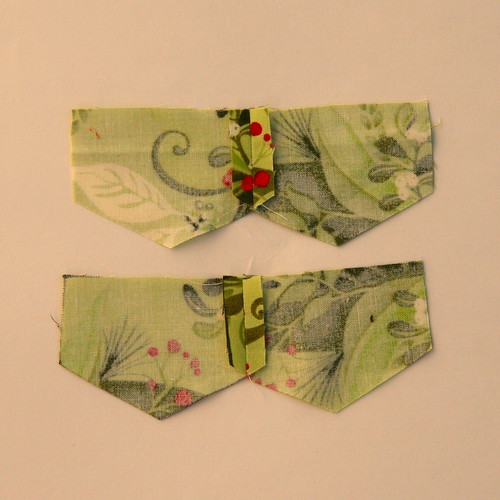
Take the two pairs of cuffs and sew 1/4" seam along one short side. Press open.
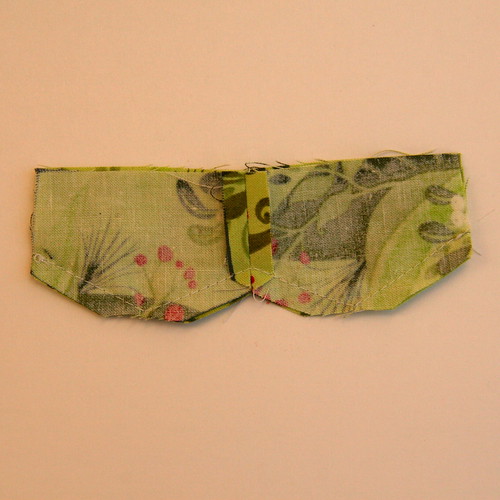
Place the cuffs together, matching seams. Sew along the bottom edge only. Clip corners.
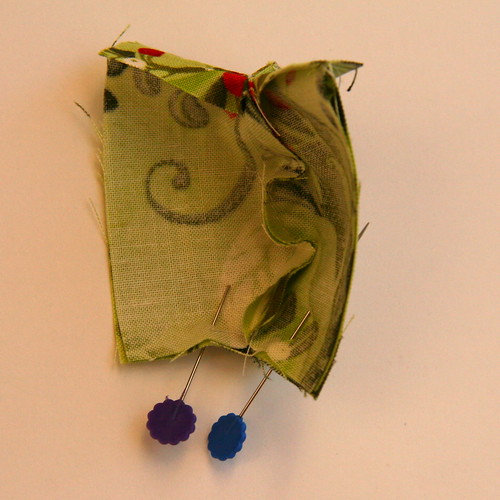
Open up the cuffs, and matching right sides, line up the short sides and bottom seam. Stitch along this side. You should now have a little circle cuff with only the top edge unfinished. Clear as mud? I hope so.
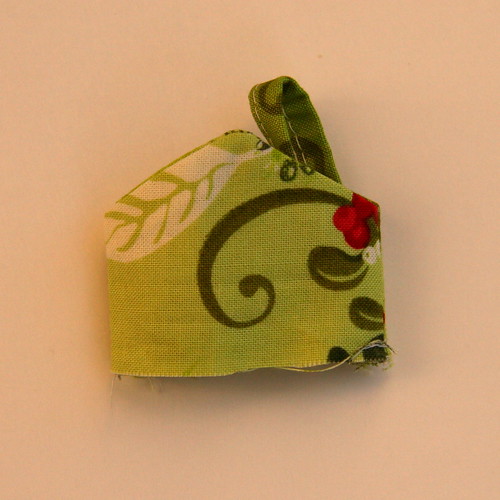
Place the hanging loop in the cuff as shown. Baste it in place, matching raw edges.
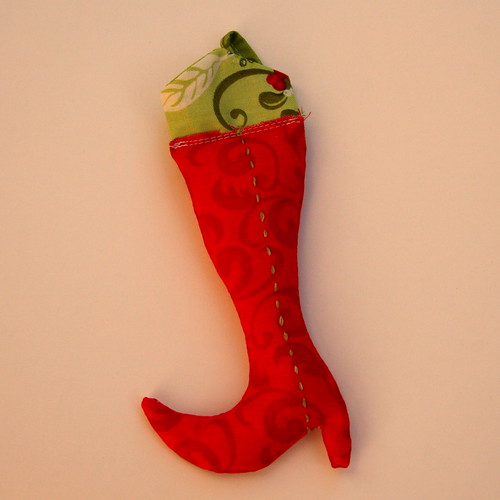
Fill the stocking/boot body with fiberfill. I use my finger and the fat end of a chopstick to work the filling into the toe and a bit into the heel. Don't overfill, but provide enough to give a nice look. Place the raw edge of the cuff INSIDE the boot, with the raw edge of the boot top showing. Stitch along the edge of the boot top a couple of times or zig zag. Fold the cuff down over the raw edge and voila, you are done!
Thanks Heather for that fun tutorial! Check out Fiberosity for more great ideas!
 And don't forget the Fat Quarter Shop Terrain giveaway ends as soon as I finish the 2nd Terrain quilt top I am working on. I only have 2 more seams for each block and then I will sew the blocks together and be done! It will definately (hopefully) be done today. So hurry and get your entry in!
Sha :)
I am in love with this little boot! Can't wait to make it!
ReplyDelete