Saturday, January 21, 2012

Are you ready for some Rulers???
This month there's 2 winners who will each get a Nifty Notion Cut For The Cure 22.5 degree wedge ruler and a 4" x 14" ruler courtesy of Brewer Sewing.

.

Since my Mr. Random is at the gym right now I used the random integer generator at Random.org

Random Integer Generator
Here are your random numbers:
26 3
Timestamp: 2012-01-21 14:44:53 UTC

Number 26 is Sally and number 3 is Mom2RyandSis!

Congrats ladies, I have sent you both an email!

Remember Valentines Week begins on Monday so make sure you come back!

Friday, January 20, 2012

Terrain Stepping Stones Quilt, My First Finish Of The Year!

If you are looking for the Nifty Notions Ruler giveaway click here. Hurry the giveaway ends today!

This week was very exciting for me, not only did I work on 4 Valentines Day projects but I finished my first quilt on my 2012 Finish-A-Long list! It's my Terrain Stepping stones Quilt.


I finished the quilt top in November before Thanksgiving, so I guess technically it didn't take that long to make since I don't stop piecing until the quilt top is done. That keeps me from being confused. Besides it was a fairly easy pattern. If you want the pattern its available here for FREE!

I knew that I wanted to make a small lap size quilt to put over my legs when I am using the computer. We have hard wood floors and my feet get cold. I also knew I didn't want it to be too heavy and bulky so I decided to just back it in flannel with no batting. And its the perfect weight, its over my lap right now keeping me cozy :)


Like many of my projects this one had lots of HSTs, which you know I am craizee about! I know I am weird, but I like the challenge of matching them all up.

I decided to just quilt in the ditch around the different shapes, big squares, little squares, diagonals and diamonds.


The hardest part for some reason was hand sewing the back of the binding on. It was only 2 thin layers and my needle kept going thru the front so it took forever to hand sew. I think I need to learn to machine sew binding on.

Today is another big quilting day. I need to put the borders on Tyler's quilt and quilt and bind my Valentines quilt.

Speaking of Valentines Day, next week I have decided is V week here at Craizee Corners. I have a bunch of V-day projects to show you and maybe a great giveaway too! If you have a V-day project you would like to share let me know and I would be happy to show it here.

Come back tomorrow to see who the 2 winners of the Nifty Notions rulers are!  


Thursday, January 19, 2012

Little Red House

If you are looking for the Nifty Notions Ruler giveaway click here.

I don't know about you but as soon as I made my first Dresden fan point I knew I had to make a Dresden house.


I have been thinking about it all week and today I had some time to make one.


I used 2 - 10" squares or layer cake pieces.

1. Cut 1 - 10" wedge out of the house fabric.


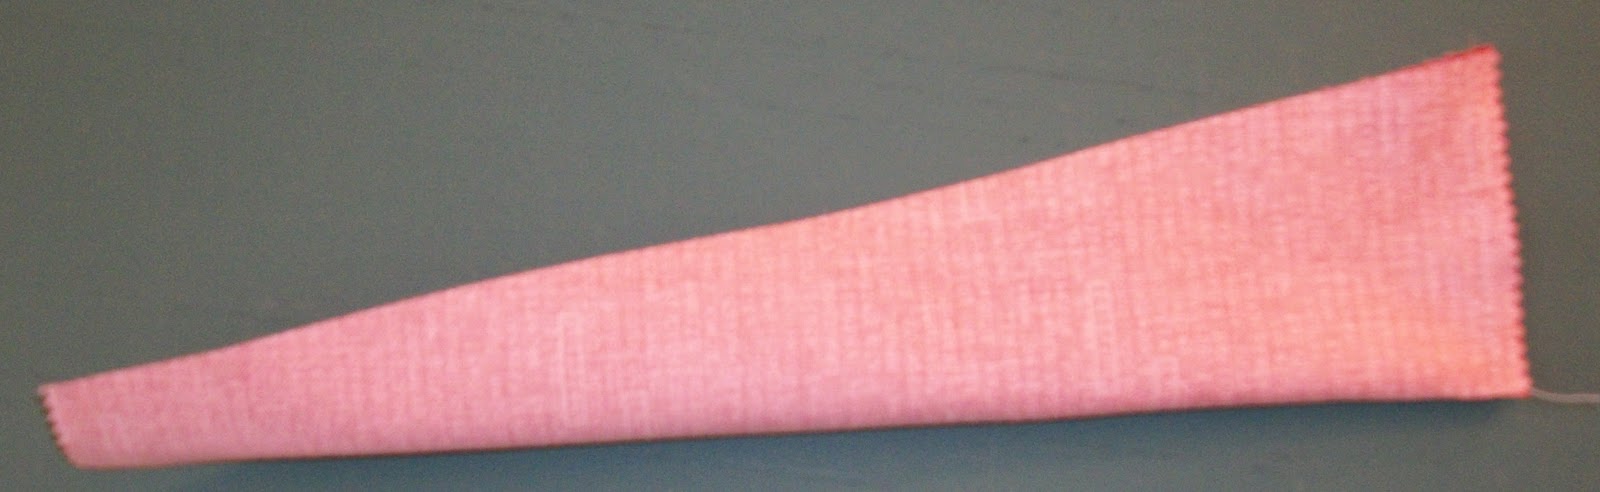
2. Fold the wedge in half along the length and sew a 1/4" seam along the bottom seam.


3. Flip the part you just sewed right side out to make a point. Use something pointy to make sure the point is crisp and press. Use Best Press or Starch .


4. Trim the house to be 6". Measure from the top point 6" and trim the rest off. I used the Nifty Notions 4" x 14" ruler which was perfect for this project.


5. Turn a 1/4" under towards the back to make a smooth edge on both sides and the bottom. Press. I used some Best Press to make the folds crisp.


6. Trace the shape of the house into some double sided fusible web and then cut the shape out 1/4" in from the line. This will make the web a little smaller than the fabric so it doesn't show. (I used Steam-A-Seam). Follow the manufacturers directions to affix the web to the house and then the house to the background.


7. Now either machine or hand applique the house onto the background. There you go...a little red house!


I am going to add some grass, trees and some flowers to finish this off. I used the blanket stitch on my machine to sew on the house and had fun with some other decorative stitches that my machine has.

Remember to enter the giveaway for 2 Nifty Notions rulers! Click here to find out how. 


Wednesday, January 18, 2012

Tumblers

If you are looking for the Nifty Notions Ruler Giveaway click here.

Have you ever made a tumbler quilt? A tumbler is just another name for a wedge of some kind. The wedge pieces are alternated like pictured below.


Most tumbler patterns use a template, but in my world that's a dirty word. And why would I make more work for myself when I can have tons of these great wedge shapes cut in a matter of minutes.

The tumbler pieces are cut the same way as the other 2 blocks I showed you this week. If you missed the tutorial click here.

You can make these tumbler pieces any size you want. I have to make a few more Valentines mug rugs so I decided to use the tumblers as a frame for some embroidery or applique I plan on doing.


For this mug rug I used 4" tumblers. If you trim a charm square to be 4 x 5 then you can get 2 - 4" tumblers from each charm. I had some leftover charms from a quilt I am working on and used them. Once the tumblers are cut, arrange them in a pleasing manner. Remember to turn every other one upside down or you will end up with a Dresden fan instead of a straight line. 

To sew these together simply put them right sides together with the top points lining up. Sew down the right side diagonal. Then press the seams open.


Continue sewing tumbler pieces until you have enough. I used 7 pieces. Then I trimmed them slightly to even it all up.


Now cut the whole piece in half. I wanted the effect of the tumblers continuing from the top to bottom and visa versa. For the center I used a piece of white cut to 6" x 9". 


Make sure the top part of the tumbler strip is on the top of the center fabric and the other is on the bottom.


Now comes the tricky part...getting the pieces to be even. I was taught to line up the centers when using sashing and this is basically the same thing. Fold the white in half along the 9" part and mark the center. Then fold the 2 tumbler parts and mark them. I find it helpful to make a sharp fold where the center is. Start pinning at the marked center line and go out from there.


Sew the top and bottom on and press towards the center. Then even out the sides using the center piece as a guide. There will be a little overhand on each side.


Now I just have to figure out what to put on the white piece.


So are you sold on this technique yet? I don't know where I would be without these special rulers. I personally will do anything not to have to draw on the back of a square, especially along the bias.

If you are looking for any of these Nifty Notions Cut For The Cure Rulers you can order them directly from Kaye England who is the designer of the rulers or from The Berry Patch (tell them Sharon sent you). 

Don't forget to enter the giveaway to win one of these rulers!